
Sorry. That is an inside joke. I'm not sure why. My husband and I said it once? to our roommate? maybe? We're losers. Sorry.
Another warning, this post has a bajillion photos. Apparently, that's what happens when you buy a new camera, supplies for a project, and have months of time on your hands. (I take too long to complete projects.)
Alright, on with the show! This all started in October when my wonderfulfabulousamazingsplendidromantic husband bought me a buffet for my birthday. Now, this isn't truly a "buffet", but it is two pieces: one old TV cabinet and one serving piece/sideboard. However, when we saw them in the consignment shop, they were side-by-side like one cabinet and I fell. in. looooooooove. For real, I did. This was the week before our anniversary and, when we got anniversary cards with cash, I begged him to come back to Newport News (we were visiting family) and go find the cabinet again. And it was gone. I almost wept. I'm not typically *super* emotional, but I LOVED this piece and I was devastated. Nothing seemed right.
Fast forward 2 or 3 weeks and I started craigslisting. I REALLY wanted to find a cool vintage buffet. I finally found one and the sellers were AMAZING. I'm talking, drive-an-hour-for-you-just-to-look-at-it, amazing. Well, hubby got all squirrelly and started fussing at me. See, he had also asked about celebrating my birthday (THE BEST DAY OF THE YEAR- only 309 days, by the way) and I said..."ummm...is yesterday too early?" He was not amused, said we should just go get my gift now, I said "no" because he gave my anniv. gift early and kicked himself. It was weird. If you knew him, you would know he is the most even-tempered person EVER. Our roommate actually said, "I didn't know he could get frustrated until I moved in and saw you frustrate him." Our roommate has known him for over 10 years. I bring out the best in people. That being said, the next day he got REALLY weird and said, "We have to go to my parents' house." I said, "Does this have to do with my birthday?" (12 days early). He was not amused. So...we went in to his parents' home and he asked me to help with something upstairs. What did I find?! MY BUFFET!!!!! (I, truly, have the craftiest, trickiest, most thoughtful, worst secret-keeping and worst-at-lying husband in the whole world- love you, babe.)
Here she is in her trial-run, partially-set up state. I love her. She's slightly less orangey than this picture shows, but no less beautiful.

This got me thinking...my husband hates it when I do that. I reaaaaaaaaaaaalllyyyyy needed something in ALL of the space above the buffet.

SOSOSOSOSOSOSOSOSO MUCH SPACE! Seriously, I could not handle it. 
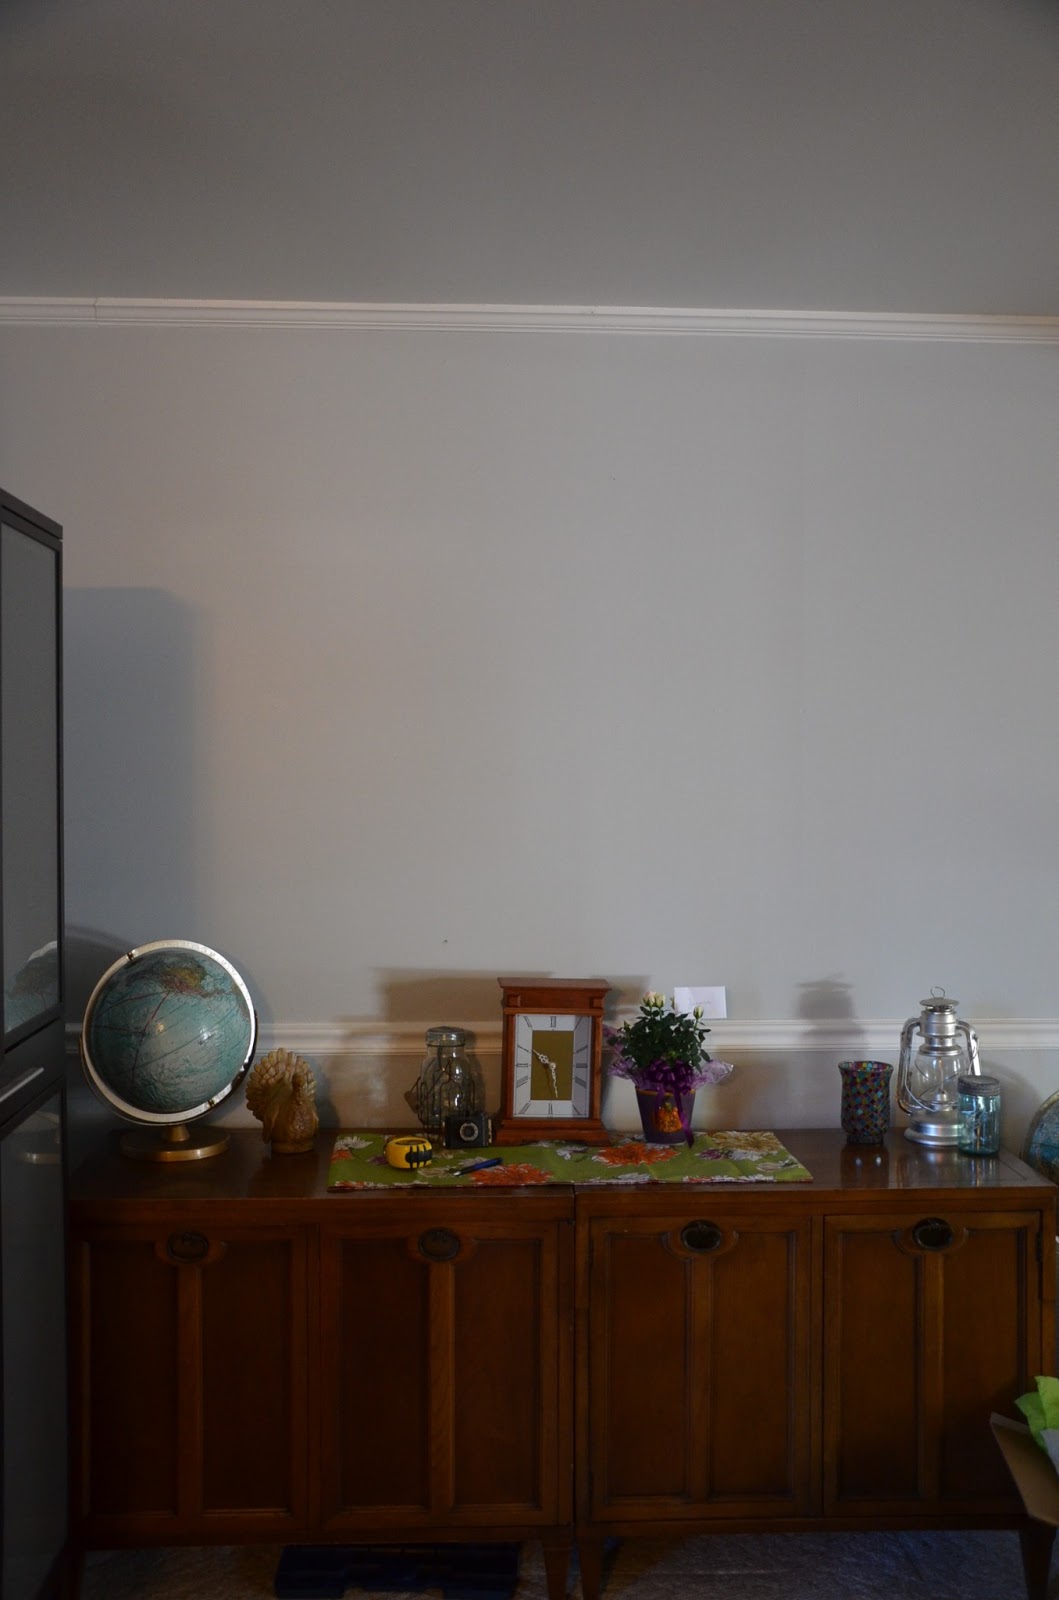
(an aside: nothing about this looks remotely similar today...except the standing globe to the right)
I got on ye ol' Pinterest and looked at some old DIY pins I had pinned. I found a tutorial from younghouselove (not surprising) and Ana White on building floating shelves*...I started brainstorming. Then, I looked at the things that did not fit into the new buffet from the old china hutch (to the left two photos above...from Ikea...Bjursta collection?). The #1 misplaced item was...wine glasses. We have 14. They had nowhere to live. So, I did what any normal pinterest-er would do...I looked for a tutorial for building wine racks! I remembered that Katie Bower had retrofitted some Pottery Barn shelves with wine racks, so I googled those. No dice. Then, I bit the bullet and found a tutorial for building your own wine rack.
Disclaimer: Nothing about these shelves is perfect. These wine racks? Not perfect. But, they were a labor of love so, I love them like I love my 2nd graders with their weird grown-up front teeth and tiny baby teeth. Awkward, quirky, loveable.
Onward: Let's buy supplies! Truthfully, I didn't keep receipts, but this ended up being WAY more expensive than the tutorial. I do NOT think this is the fault of either tutorial. We had fewer supplies on hand, so costs rose more than we anticipated. Here is our pile of supplies on our dirty (now gone) carpet, next to the old trunk of books (that were all free) that I still haven't gone through. Open & honest here.


Basically, we followed the tutorial and then...sat the braces and the shelf sleeves in the corner while we worked on our floors. For. Ever. (real time: less than 2 months) Finally, floors were done! Hooray! [The joy cannot be contained by this post and will be posted at a later date when I'm done with the grieving process and can release my bitterness and hatred at a "3 week turned 6 month" project.]
That darling husband of mine leveled the first brace (I held on, he screwed in- oh. man. so. funny. sorry.) and we had a brace! Hooray! We screwed into as many studs as we could [still inappropriately funny], but some of them were in strange places behind our little 11.5" cross bars. That made it complicated, but we worked it out. Fortunately, after the first one or two screws, we were able to leave it hanging with the level and he could finish drilling while I took pictures. [Nothing about this makes me stop saying "That's what she said." Nothing.]
We decided to put the lowest shelf 24" above the buffet...and then I realized that 9" tall wine glasses would be hanging from it. So, we went 33" to compensate. Does it look too high? Definitely now. Will it look better? I think so. Ideas are on the way.


Keeping it level because I'm neurotic.


Then, it got dark, but we kept on going. Warning: the pictures will look horrendous from here on out. Our lamps are THE. WORST. EVER. I also don't really understand 90% of my camera, so, bear with me. I'm working on it. :) We had to make some adjustments from our original brace #2, but we were able to fix it so that it would hang correctly with a new 1"x 2".

Then, we prepared for the moment of truth: sleeve-fitting.


IT WORKED! IT WORKED! IT WORKED!!!!!!!!! Yes, I was jumping up and down. Yes, my husband was sweating bullets. No, I did not cry.

Meanwhile, back (in Gotham City?) in the floor, I was wood-puttying some stray holes in the second shelf-sleeve, re-sanding, gluing on wine-glass brackets, and any testing out the wine-glass-holding capabilities.

Success.

We let it dry overnight (while I was painting my mirror- woop!) and then it was ready to hang!!!!!!! We did consider putting some additional screws in the wine glass holders, but we kept testing them (and testing and re-testing) and decided that they're very secure. God forbid anything happen, we'll put out a plea to donate to the Keep-Jessica-from-drinking-Moscato-from-plastic-cups campaign.


We put the bottom sleeve on and...ALKJDFLKSJDLFKJLKJ!!!!!LKSJDFKJ!!!!!!!!!!!
IT WORKED! Seriously, at this point I considered weeping. Also, check out those sweet branches that are in a floor vase to the left...thanks for your end-of-year sale, Target!


Yup, my husband works best in a tie. I am too anxious to finish projects when he comes home to let him change clothes.

Now, I'm with $herdog on this, styling is THE BEST part. I wanted to keep things *somewhat* wintry with blues and silvers since I hate taking down Christmas stuff and wasn't ready to say goodbye to my mercury glass owls.


With buffet: Try #1

With buffet: Try #2 (and mostly how it is still). Please, feel free to hate on the glass head. EVERYONE hates on the glass head. It remains one of my favorite things ever purchased in the whole world.
I instagrammed a photo of this and someone said, "Your shelves look like something off pinterest." I seriously have never heard a bigger compliment.

Let's address the height issue of the lowest shelf. I don't LOVE how much higher it is. Those globes look way small here, but they're regular size and have looked too big on every other piece of furniture. However, I think about hosting Thanksgiving last year and how we had tall beverage dispensers that wouldn't fit with the lower wine glasses. I also think of the possibility of sideboard lamps. SO, I think we have something here to help shortly. :)
All of this being said, it just encouraged me to try more projects...so, this week I came home to this guy (I hope he'll help with the empty wall space under the shelf!)...I can't wait to get him finished and show him to you! :)

Anybody else in blogland creating something for the first time and in love with it?! Tell me all about it in your comments! Thanks for reading! :)
This project is linked up at A Bowl Full of Lemons: One Project at a Time!


